
 (2 votes, average: 4.50 out of 5)
There’s a lot of buzz around apple cider vinegar right now, and our Kitchen Council member Sally is sharing how you can easily make it home with just a little patience.
Apple cider vinegar is a darling on the detox scene and touted as a weight loss miracle. The truth is, there’s no good scientific evidence that apple cider vinegar (or ACV as it’s known to fans) is the cure-all it’s made out to be.
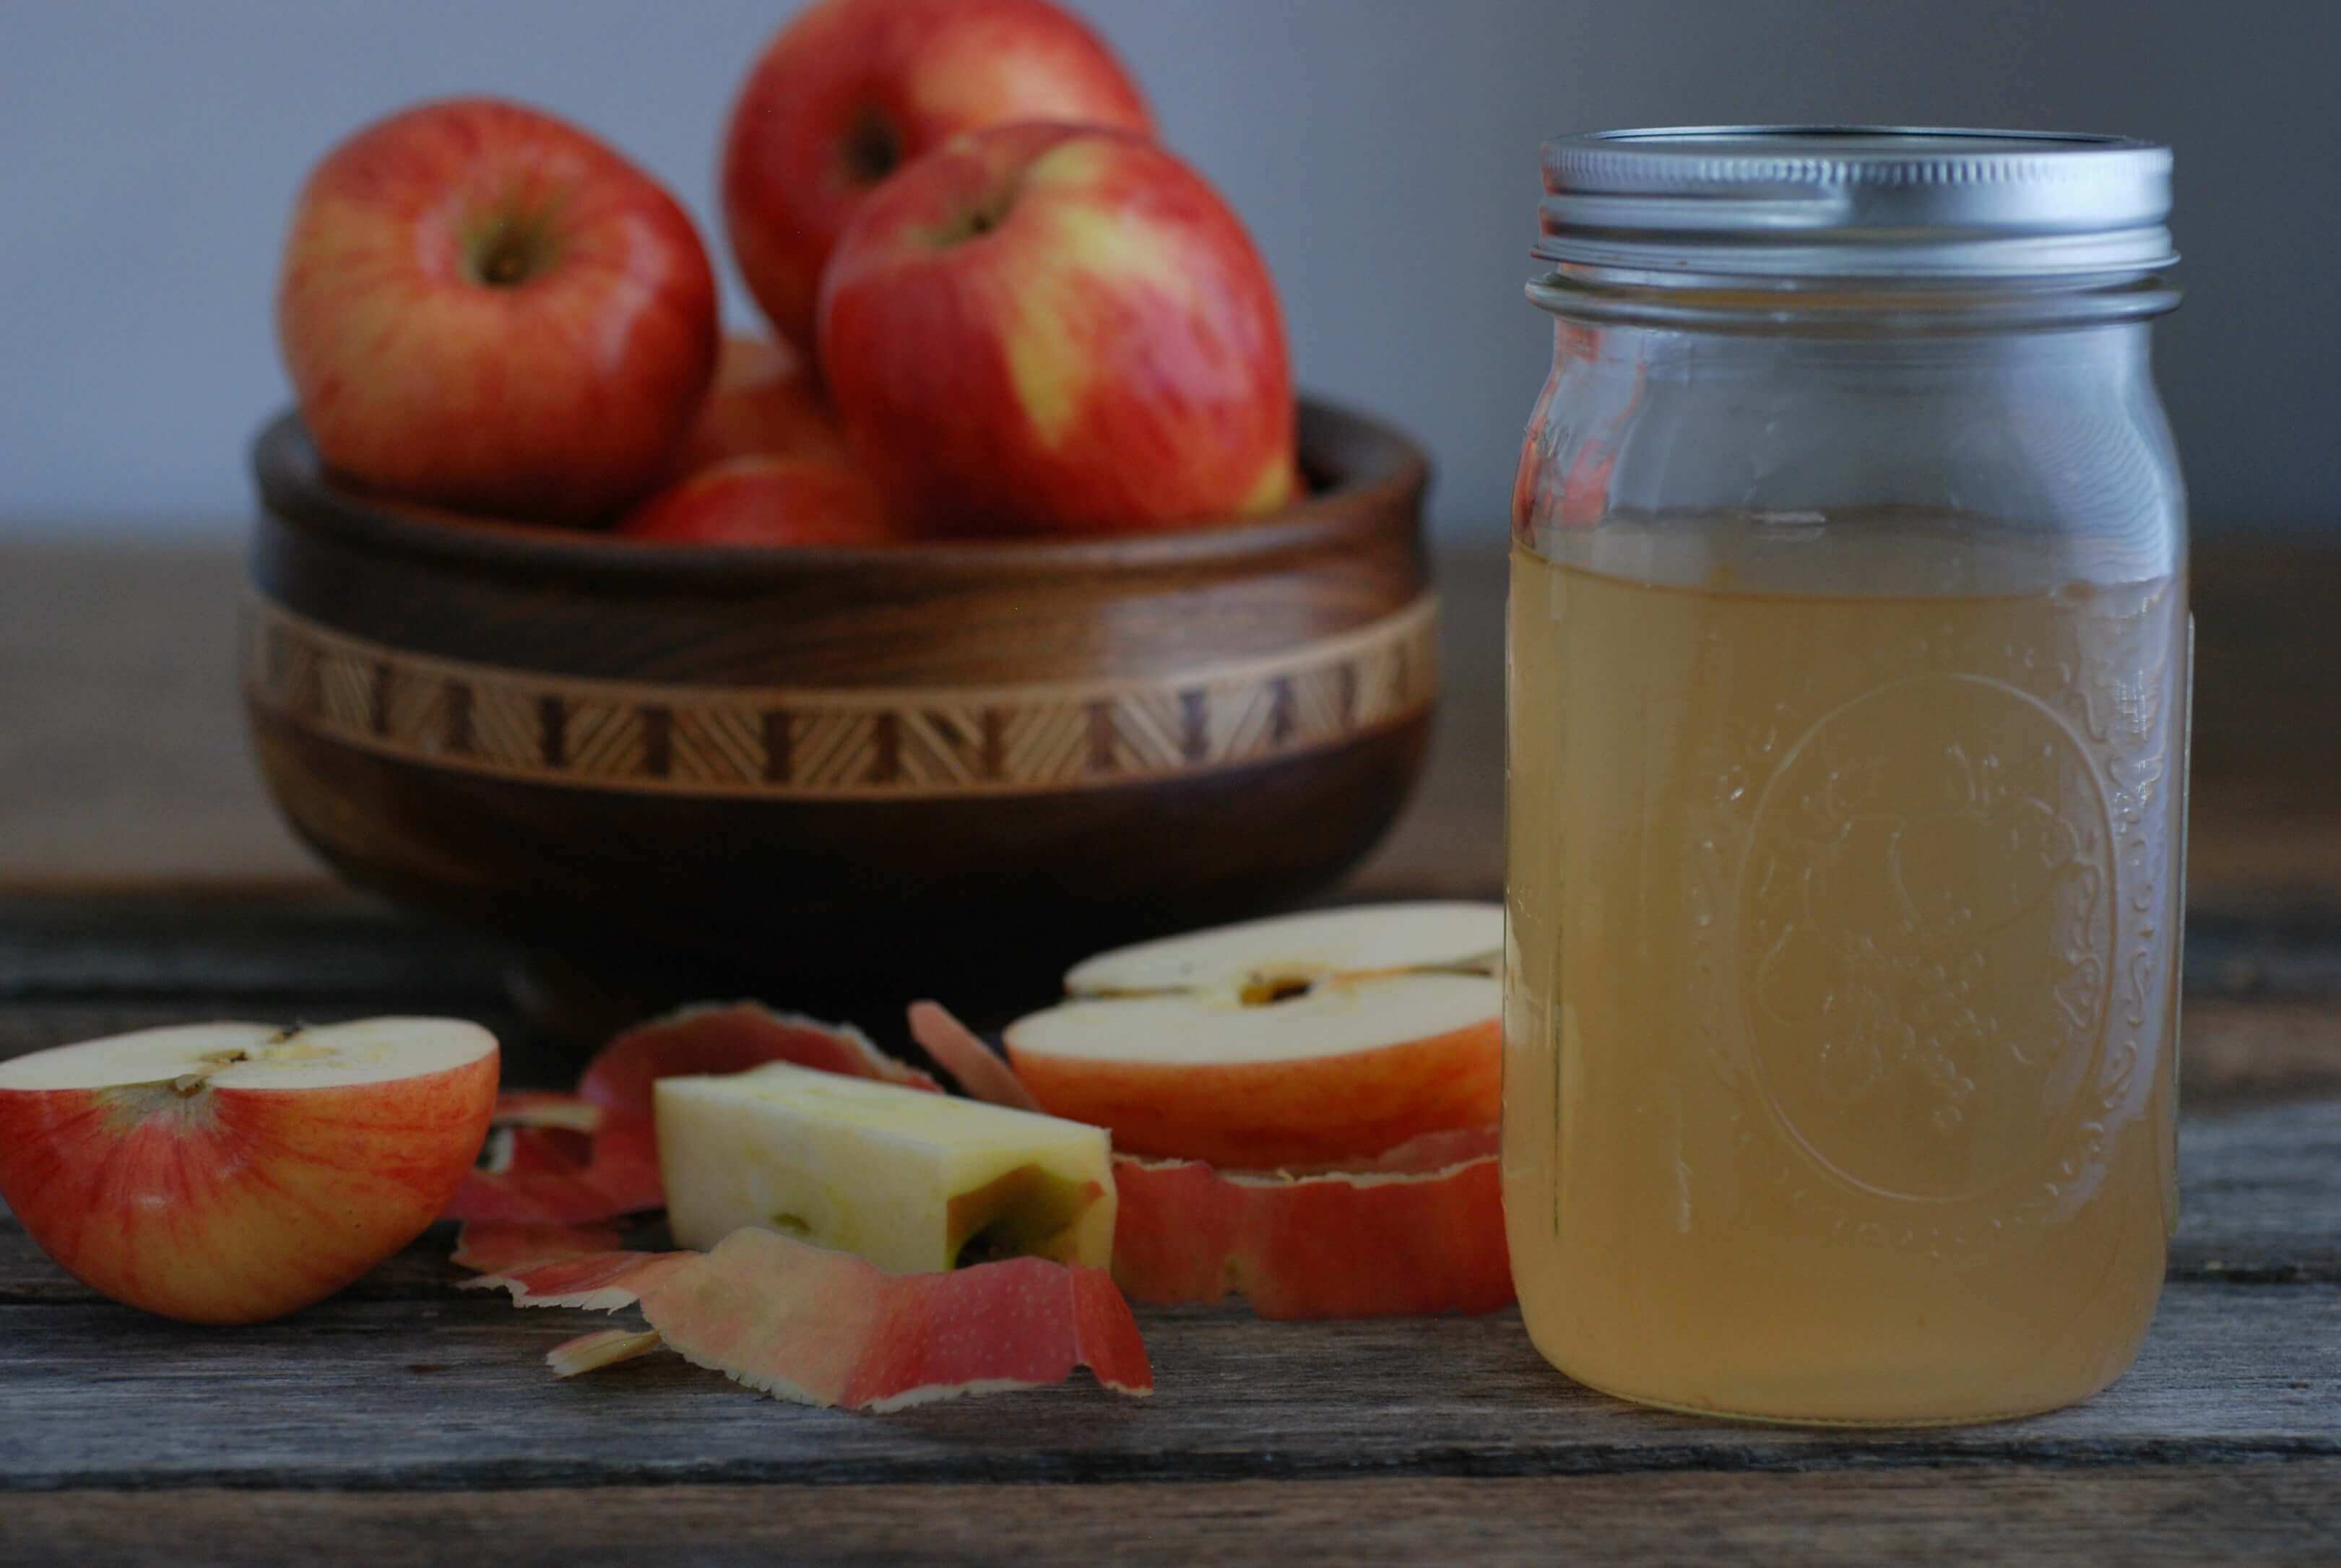
But, there’s no doubt apple cider vinegar is a workhorse staple in the pantry, used in cooking (and even baking) well beyond salad dressings. And making your own is actually quite easy. It’s a fun and frugal kitchen project for using extra apples. And it’s a brilliant way to fight food waste: In lieu of chopped apples, you can also use cores and peels. So the next time you’re making an apple pie or a batch of applesauce, you can transform the scraps into a jar of vinegar!
Making homemade apple cider vinegar involves a simple fermentation process. The apples are soaked in a mixture of water and sugar (the sugar “feeds” the bacteria—though you can use honey, the process will just take a bit longer) and time works its magic.
A few important tips before making apple cider vinegar:
-
- Use wide-mouth glass jars to make your vinegar (the acid can corrode metal containers). Just be sure they are clean and sterilized before using. To sterilize the jars, bring a large pot of water to a boil. Submerge clean jars in the boiling water and boil for 10 minutes.
-
- Keep the apples submerged in water to prevent any mold from forming. The easiest way to do this is to place a clean (and sterilized) glass jar on top of the apples to gently press them down below the water’s surface.
-
- To allow the mixture to breathe and oxygen to flow, cover the jars of fermenting apples with cheesecloth. Secure it with a rubber band.
2 Comments. Leave new
this sounds easy enough. I’m hoping to try this fall when the apples are fresh and crisp
Let us know when you do!