I was gifted a food dehydrator a few years back, and it’s been tucked away collecting dust bunnies until recently when I stocked up on apples to make apple chips. My hope was that I could curb the constant snack requests my kids have with something healthy and homemade. (Spoiler alert: they loved them, but ate them in about two days!). I must admit I was intimidated about all the prep that goes into dehydrating food, but was pleasantly surprised at how easy it was. So easy that I wanted to share how I did it, and different methods for dehydrating apples so that you can try it too!
4 Ways to Dehydrate Apples
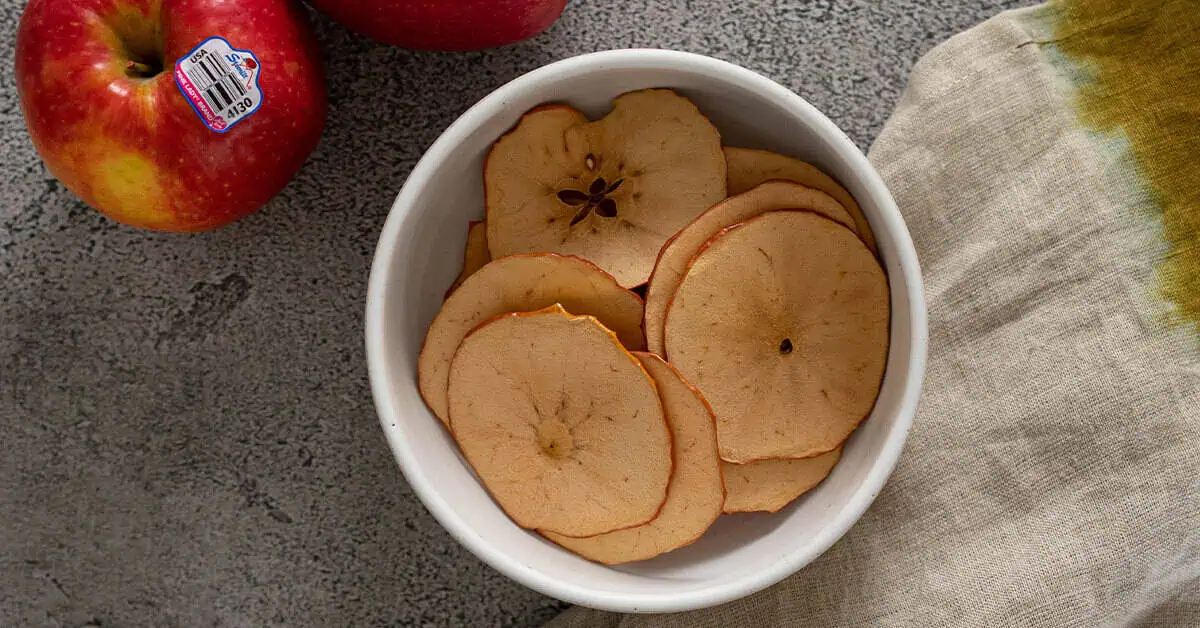
Dehydrating literally means drying apples and there are three main ways that you can achieve that delicious dried apple result. You can use a food dehydrator, or your oven and a sheet pan, or you can even air fry or air dry apples!
Food Dehydrator: This is for those of us that like things the easy way. There are different types of food dehydrators, including stackable for smaller batches or batches with different foods, and excalibur that dry large batches of whatever you wish! Prep your apples by coring, peeling (if you wish) and slicing them your preferred way. Then, toss them in a lemon juice-water mixture (1-1 ratio of lemon juice to water) for about 5 minutes. This prevents the fruit from browning so that it keeps longer once dry. Place the fruit on the drying screen, making sure it does not touch another piece of fruit. Follow your dehydrator’s instructions for drying apples. Usually this is starting it at 145 degrees Fahrenheit and running the dehydrator for an hour. Then, reduce to 135 degrees Fahrenheit until the apple slices are dry. In the end, the fruit should be leathery and show no signs of moisture.
Oven Drying: If you don’t own a food dehydrator, then oven drying is the way to go. Prep your apples into slices and set the oven as low as it can go (usually 175 degrees Fahrenheit). Toss the apple slices into a lemon juice-water mixture to prevent excess browning. Then, place them on a cooling rack on top of a baking or sheet pan. Air is essential when it comes to dehydrating apples and keeping the apples elevated on the cooling rack helps that movement. Place the baking sheet in the oven, and prop the oven door open with a small block of wood to help moisture leave the oven. Flip the apples about an hour in and repeat every hour until dry. It will take about 2-3 hours to dry the apples depending on how thick your slices were.
Air Fryer: Another easy method for drying apples is the beloved air fryer. Slice those apples into rounds, removing the core, and sprinkle both sides with cinnamon. Preheat the air fryer to 375 degrees Fahrenheit and add the apples to the fryer basket. Cook for 12-16 minutes, flipping every 4 minutes. Cook time ultimately depends on the thickness of apples, but they do firm up while cooling. Get our Air Fryer Apple Chips recipe here.
Air Drying: this is not today’s fastest method, but it might be fun to try as an at home experiment with your kids. To air dry apples, you’ll want to remove the stem and core them. Then, mix them in a lemon juice-water mixture to prevent them from turning really brown during the drying process. Then, cut them into rings (about 1 inch thick all around) and thread them on a string or rod to dry. It’s important that the apples have adequate space so that every inch of them dries thoroughly. It’s best to hang the string in a warm place, like near a fireplace. Keep in mind that it may take several days for the apples to completely dry. You’ll know when they are done because they will have that leather look, feel like rubber and be completely dry (vs. wet/slightly sticky because of moisture).
Choosing Apples for Dehydrating
You can use any apples that you have on hand for dehydrating, but as big fans of apples, we of course, have four favorites. Each of these apples is readily available at supermarkets throughout the year.
Fuji: the natural sweetness of this apple makes it great for drying
Pink Lady®: you get both sweet and tart with this apple, plus the pink skin will add a touch of color once fully dry
Gala: the mild flavor of Gala makes it a great one for apple chips, especially when you sprinkle some fall spices on it
Granny Smith: if you want something on the tart side, turn to this green apple. This is a great choice if you are using your dried apples alongside sweeter foods.
More Tips about Dehydrating Apples
Before you get started dehydrating apples, read through these tips:
It takes more apples than you think to make a significant batch of dried apples. In fact, 3 pounds of apples will only make about 1/2 pound of dried apples.
You can fold a dried apple slice in half to determine if it’s fully dry. If one half of the apple sticks to the other half when it is folded, it isn’t quite dry yet.
It’s best to store dehydrated apples in an airtight container. Be sure to label and date the package and store in a dark and cool location.
Be sure to let the apples cool completely before you store them away.
You can keep dried apples for several months, or freeze them for even longer!
It’s great to add spices like cinnamon, nutmeg, or cardamom to your dehydrated slices. You can add them right before you put them in the oven or dehydrator, or you can do it after they are dry and cool.
Dried apples are great on their own as a snack, but also make a great topper to breakfast foods like yogurt or oatmeal. You can also make dips for them!
Brianna joined the Stemilt family right after graduating from Washington State University (Go Cougs!) in 2007. She’s our chief communicator and writer of various fruit topics here on The Stem blog. Away from the office, Brianna is a mom of two young boys and former picky eater that has been transformed into a bit of a foodie thanks to her husband. Peaches are her favorite Stemilt fruit, but Piñata apples are a close second.

 Loading...