Easy Green Apple Fruit Rollups
|
Childhood Classic
Isn’t it great when you receive a gift that will be something that you’ll put to good use at home? I was so excited to receive a food dehydrator last Christmas as I knew it would be put to good use in order to make healthy dried snacks for our busy family. As I flipped through the recipe book that came with this new kitchen gadget, I was amazed at all the different methods for drying foods, including the ability to easily make one of my childhood favorites – fruit roll-ups.
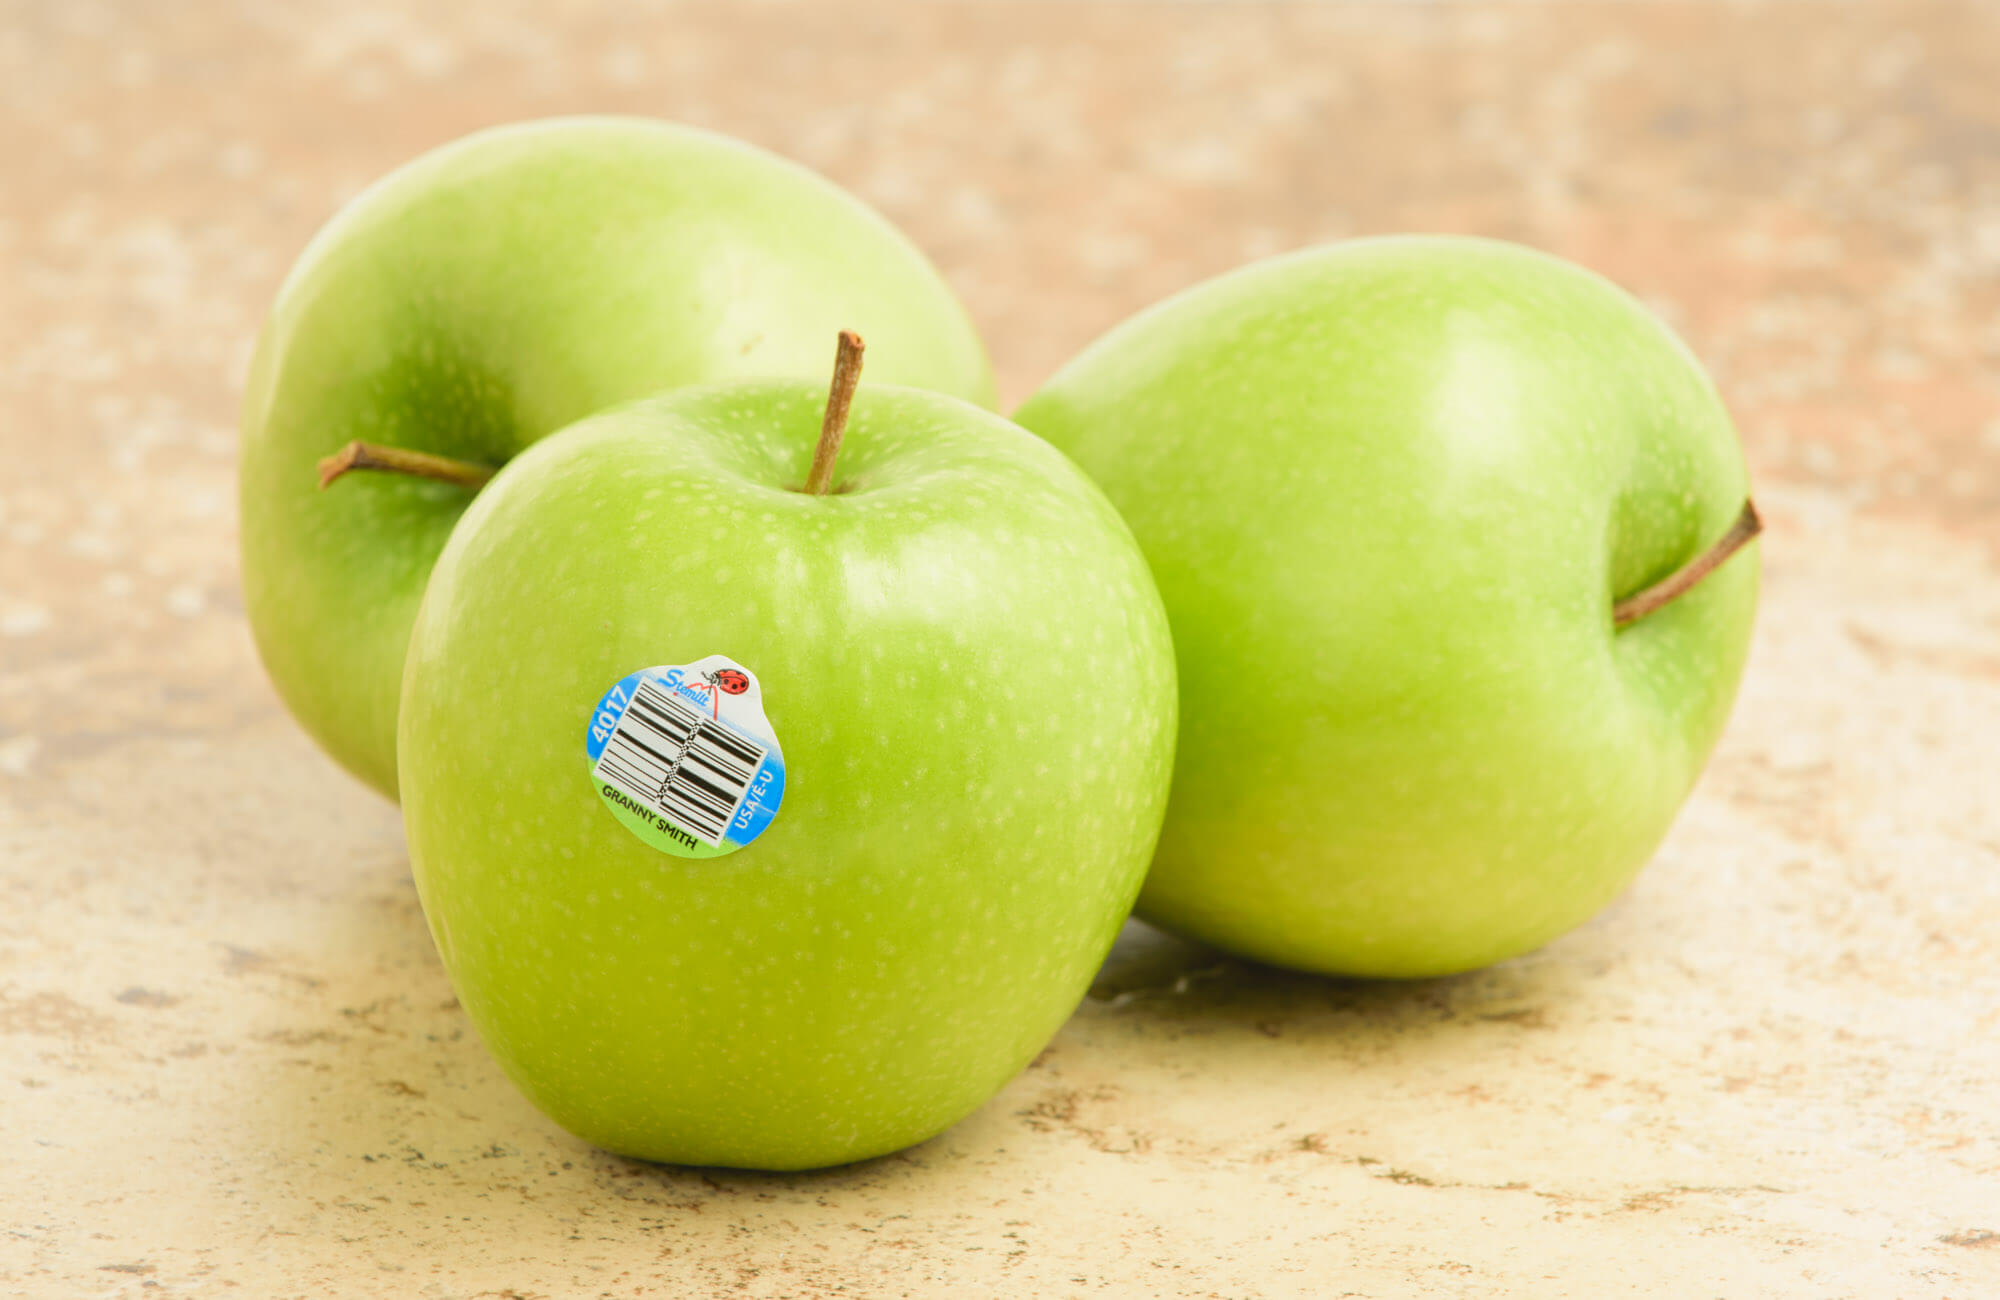
After successfully drying apples, pears, and mangoes into chips, I decided it was finally time to give the green fruit leather recipe a try. But not just any fruit roll-ups –green apple fruit roll-ups that use the well-known and uniquely tart Granny Smith apple variety. I read through the recipe book that came with the dehydrator, browsed a few different apple roll-up recipes found online, and came up with something that blended a few ideas together in order to create an easy recipe for green apple fruit roll-ups. The following 1 minute video takes you through this recipe from beginning to end and shows you just how easy these green apple roll-ups really are!
Let’s get Dehydrating!
To get started, I gathered my ingredients and supplies: Granny Smith apples, lemon, cinnamon, dark honey, water, and a high-powered blender. Then, I washed the apples and lemons and got right to work. The first step in making these roll-ups is peeling and chopping the apples. I reserved some of the peelings in order to place in the blender, since the peel contains many of the valuable nutrients in apples, including antioxidants, and a high-powered blender does a great job of breaking the peel down.
I placed the chopped apples and some of the peelings in the blender, added two heaping teaspoons of honey, about 1/4 cup of water, and the juice of half a lemon (to prevent the fruit from browning). Then, turn the blender on until you reach an applesauce-like consistency. You want it to be chunky-smooth (a little bit of both). (Note: Since I was using the single-serve part of my blender, I added the ingredients twice in order to make enough sauce to cover one tray in the dehydrator. You want enough “sauce” for 1/4 to 1/2 inch of thickness all the way around the tray, so use more than you think.)
Next, I cover the plastic tray of the dehydrator with non-stick parchment paper (you may also use solid liners for the trays, this can be cheaper in the long run.) Then, I spread the applesauce mix evenly onto the dehydrator, ironed out any high parts with the bottom of the spoon, and placed the lid on the dehydrator. Turn it to 135 degrees and let it go for 3 hours before checking for doneness. Then, you’ll check the roll-ups frequently to ensure they have dried thoroughly but not become baked. This proved to be a little of a challenge on the first go at this roll-up recipe. I learned that I needed more sauce than I originally thought in order to get the dry, yet soft consistency of classic fruit roll-up. That being said, these still tasted great – leather-like with a vibrant green apple flavor that my son devoured!
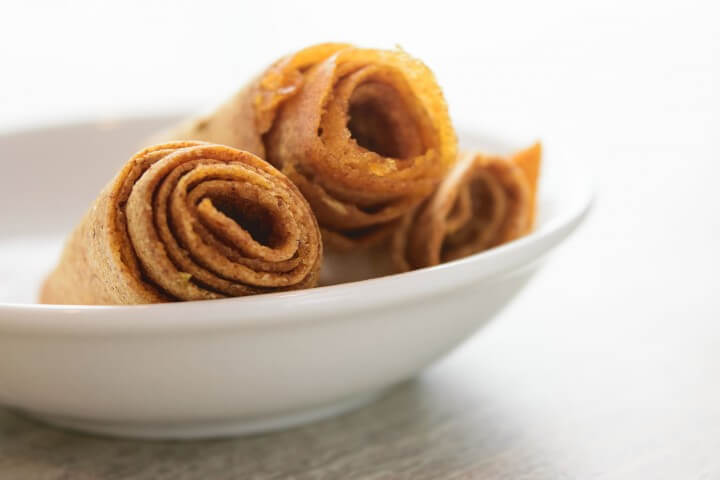
Finished Product
Once dry, peel the fruit roll-up off the tray and place it on a cutting board. Using a pizza slicer, I cut rows and simply rolled them up. Many recipes suggest using plastic wrap or parchment paper to roll-up the fruit leather. Since these were going to be eaten right away, I didn’t worry about that but would definitely recommend it for people making this recipe in bulk and saving it for eating later on. Also, for those of you that don’t have a dehydrator at home, you can make these in the oven! Just be sure to look up a recipe specifically for the oven to get your cooking times right. Enjoy!